A slow Windows PC is one of the most common complaints in IT support. The root cause is rarely one thing — sluggish performance is usually the result of multiple contributing factors: hardware bottlenecks, software inefficiencies, background processes, or accumulated system junk. This guide takes a systematic approach, covering the diagnostic steps first and the fixes second.
Step 1: Identify the Bottleneck
Before applying any fix, identify which hardware resource is under pressure. Open Task Manager (Ctrl + Shift + Esc) and click the Performance tab. Look for which resource is consistently high:
- CPU at 80-100% — A process is consuming excessive CPU. Go to the Processes tab, sort by CPU, and identify the culprit.
- Memory at 90%+ — Insufficient RAM for the workload. Windows is using the page file (disk as virtual memory), which dramatically slows performance.
- Disk at 100% active time — The disk cannot keep up with I/O demands. Common on older HDDs and on machines with very little RAM (forcing heavy paging).
- GPU at 100% — Relevant for graphically intensive tasks. Less common for general PC sluggishness.
Step 2: Check Startup Programs
Excessive startup items slow boot time and consume RAM throughout the session. Open Task Manager > Startup Apps tab. Disable any item marked High impact that you do not need running at login.
# List startup programs with their status
Get-CimInstance Win32_StartupCommand | Select-Object Name, Command, Location

# Remove a startup entry (example: remove a specific app from Run key)
Remove-ItemProperty -Path "HKCU:SoftwareMicrosoftWindowsCurrentVersionRun" -Name "AppName"
Step 3: Check for Malware
Malware — particularly cryptominers and adware — can consume significant CPU, memory, and network resources silently. Run a full scan with Windows Defender:
# Start a full Windows Defender scan from PowerShell
Start-MpScan -ScanType FullScan

# Check the last scan results
Get-MpComputerStatus | Select-Object AntivirusEnabled, LastFullScanEndTime, LastFullScanSource
If Defender finds nothing, run a second-opinion scan with Malwarebytes Free (offline installer, no subscription required).
Step 4: Check Disk Health
A failing hard drive or a nearly full SSD can cause severe performance degradation. Check disk health:
# Check SMART disk health via WMI
Get-WmiObject -Namespace rootwmi -Class MSStorageDriver_FailurePredictStatus |
  Select-Object InstanceName, PredictFailure, Reason

# Run CHKDSK on C: at next reboot (schedule, do not run live on system drive)
chkdsk C: /f /r /x

# Check disk free space
Get-PSDrive -PSProvider FileSystem | Select-Object Name, Used, Free
For SSDs, check the drive's health using the manufacturer's utility (Samsung Magician, Crucial Storage Executive, CrystalDiskInfo). SSDs degrade in performance as they fill up — keep at least 10-15% free space.
Step 5: Run the Windows Performance Recorder and Analyzer
For deeper CPU and disk analysis, use the Windows Assessment and Deployment Kit (ADK) tools:
# Record a 60-second performance trace using the built-in wpr.exe
wpr -start GeneralProfile -filemode
# ... reproduce the slow behaviour ...
wpr -stop C:TracesPerformanceTrace.etl

# Alternatively, use xperf (requires Windows ADK installed)
# Open Windows Performance Analyzer (WPA) to analyse the .etl file
Step 6: Reduce Visual Effects
Windows's Aero visual effects (animations, transparency, shadows) consume GPU and CPU resources. On lower-end hardware, disabling them produces a noticeable improvement:
- Press Win + R, type
sysdm.cpl, press Enter - Go to Advanced > Performance > Settings
- Select Adjust for best performance or manually deselect specific animations
# Disable visual effects via registry (sets Adjust for best performance)
Set-ItemProperty -Path "HKCU:SoftwareMicrosoftWindowsCurrentVersionExplorerVisualEffects" `
  -Name "VisualFXSetting" -Value 2 -Type DWord
Step 7: Check Windows Update and Driver Status
Pending Windows Updates can cause high CPU or disk usage, especially immediately after login. Check update status:
# Check for pending updates
Get-WindowsUpdate

# List installed drivers and their dates (look for very old drivers)
Get-WmiObject Win32_PnPSignedDriver |
  Select-Object DeviceName, DriverVersion, DriverDate |
  Sort-Object DriverDate | Format-Table -AutoSize
Old GPU, storage controller, or network adapter drivers can cause intermittent slowdowns. Update via Device Manager or the manufacturer's website.
Step 8: Clean Up Disk Space
# Run Disk Cleanup for system files (elevated)
cleanmgr /sageset:1
cleanmgr /sagerun:1

# Clear the Windows Update download cache
net stop wuauserv
Remove-Item -Path "$env:SystemRootSoftwareDistributionDownload*" -Recurse -Force
net start wuauserv

# Clear Temporary files
Remove-Item -Path "$env:TEMP*" -Recurse -Force -ErrorAction SilentlyContinue
Remove-Item -Path "C:WindowsTemp*" -Recurse -Force -ErrorAction SilentlyContinue
Step 9: Check for Corrupted System Files
# Run System File Checker (elevated PowerShell or CMD)
sfc /scannow
# If SFC reports errors, run DISM to repair the component store first
DISM /Online /Cleanup-Image /RestoreHealth
# Then re-run SFC
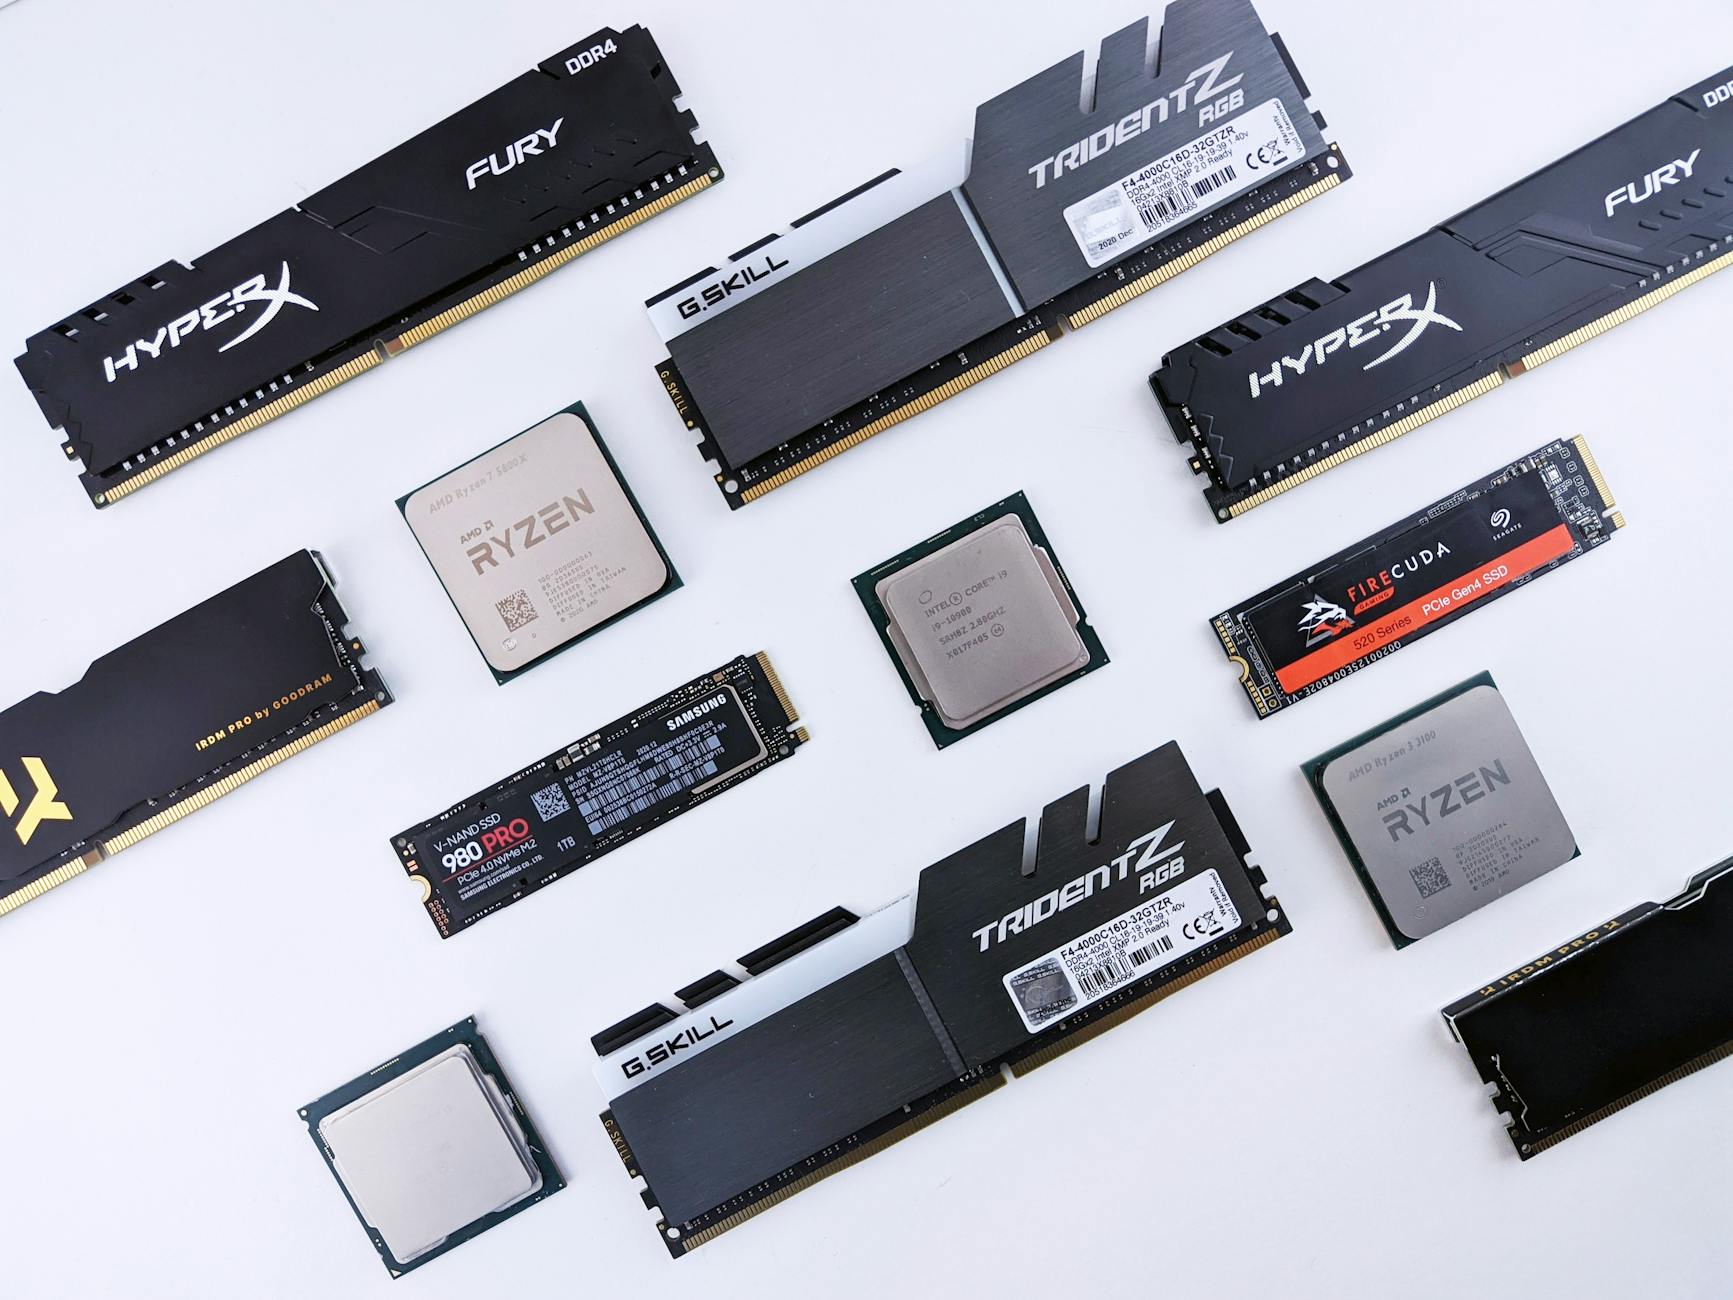
sfc /scannowHardware Upgrades: When Software Fixes Are Not Enough
If the machine consistently has memory at 90%+ with normal workloads, adding RAM is the single highest-impact hardware upgrade. For machines still running spinning hard drives, replacing the OS drive with a SATA SSD delivers dramatic performance improvement at low cost. These hardware interventions often cost less than the staff time spent on repeated software troubleshooting.